A Step-by-Step Guide for a Seamless Finish
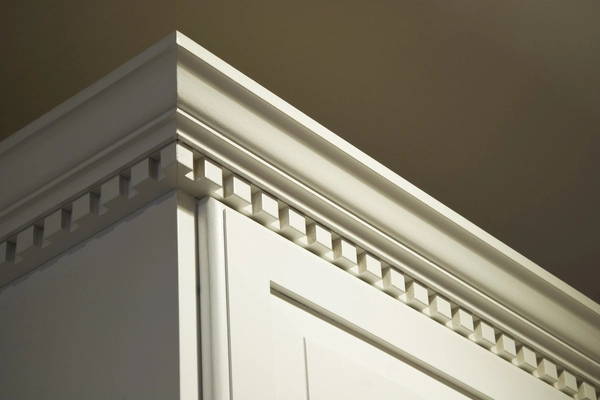
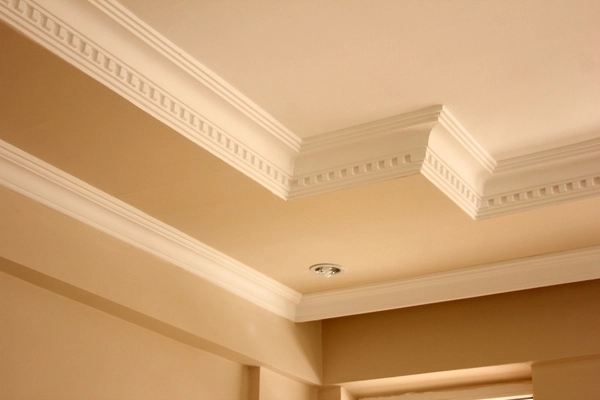
Learning how to install crown molding can elevate your home’s aesthetic appeal, adding elegance and sophistication. This decorative element bridges the gap between walls and ceilings, creating a polished look that enhances any room’s decor. Whether you’re a DIY enthusiast or a first-timer, following these steps will ensure a successful installation process.

Gather Your Tools and Materials
Before you dive into installing, make sure you have all the necessary tools and materials at hand. Proper preparation will save time and minimize frustration during the process. Here’s what you’ll need:
- Miter saw
- Coping saw
- Nail gun
- Measuring tape
- Pencil for marking
- Crown mold pieces
- Wood glue
Measure and Cut With Precision
Accurate measurements are crucial when it comes to fitting the molding perfectly. Begin by measuring each wall where the molding will be installed. Mark your measurements on the molding using a pencil, ensuring precision. Utilize a miter saw to cut the ends of the molding at a 45-degree angle. This angled cut is essential for seamless corner joins.
Install The First Piece
Once your pieces are cut accurately, it’s time to start installing. Begin with a straight wall section, placing the molding against the ceiling and wall. Use a nail gun to secure it in place, ensuring stability. Continue this process along the length of the wall until all sections are attached securely. Be mindful of aligning the pieces properly as you go.
Tackle The Corners Carefully
Corners require special attention when working with crown molding due to their intricate joints. Cope the edges using a coping saw for internal corners, allowing one piece to fit snugly into another. For external corners, precise cutting with the miter saw ensures clean angles that fit seamlessly together.

Add Finishing Touches For A Polished Look
After securing all pieces, inspect for gaps or uneven joints. Apply wood glue sparingly to fill any visible gaps, then sand down rough edges if necessary. Finally, paint or stain the molding to match your interior design, completing the installation with a flawless finish.
Elevate Your Space With Remodeling Expertise
If you’re looking to enhance your home in Red Bluff, CA, consider turning to professionals who specialize in beautiful finishes. At JJ Remodeling, we offer expert advice and top-notch services that bring your vision to life. For more details on our services, don’t hesitate to reach out at (210) 964-0020. Discover how crown molding can transform your space today!